


 Related

A Guide To National Parks In Georgia – Latest Guide
BY Ankita Dec 15, 2021
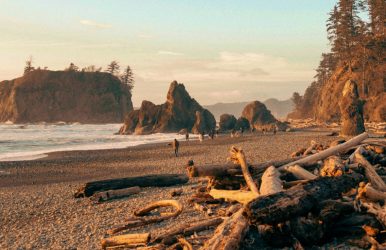
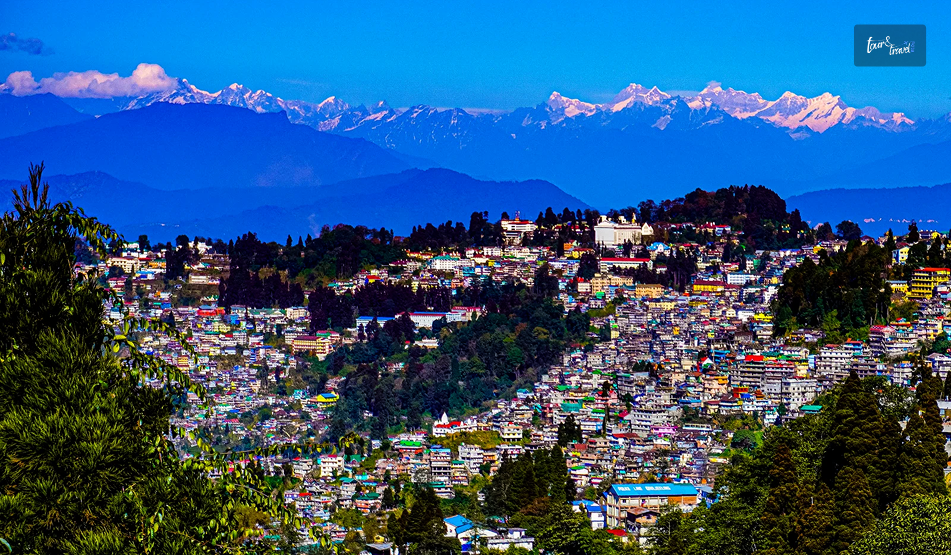
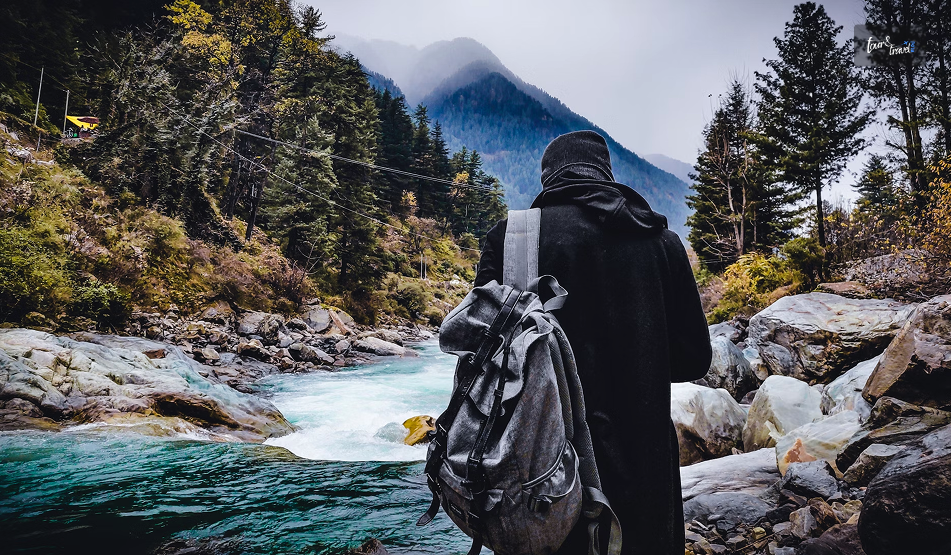
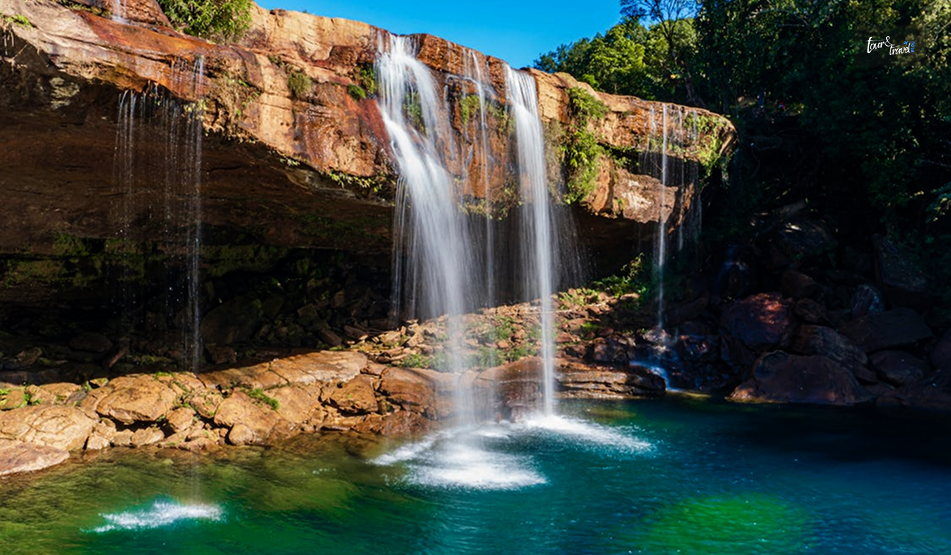
Do you love to spend your entire day in nature and walk through a heavenly road, far from the crowd and pollution? Do not wait to visit the national parks in Georgia. Georgia is a fine meeting point between Asia and Europe. A green patch in the Caucasus or Caucasia mountain. It is situated between the Black Sea and the Caspian Sea. As a natural tourist destination, the Georgia state parks have all the beauty from the sea and mountain ranges. Georgia’s mixed culture of the place and the panoramic view from the mountains makes the place a unique travel destination. These national parks in Georgia are the specialty of Georgia. Each of the parks has a unique ambiance. The natural cave, natural lakes, mountains, and waterfalls create a very special experience for travelers. 6 Marvelous National Parks In Georgia All the Georgia state parks are budget-friendly. And when you want to feel Georgia’s incredible natural beauty. You must enter the name of these national parks in your travel list of Georgia. For the short ten-day tour, these six Georgia national parks are quite pocket-friendly destinations. Here are the six lists of national parks in Georgia. 1. Machakhela National Park Are you searching for a good natural hiking park in Georgia? Machakhela national parks in Georgia camping are very popular among the locals and the tourists. This park is only 25 km away from Batumi. This park is especially facilitated by the camping and hiking facility. The place is a unique campaign park for teenagers and children: the Angelo Mountain spectacular views and the River Machakhela gorgeous delta are the best-suited for an education campaign. This virgin forest of oaks, beech, chestnut are great places for campaign and hiking. Pick any walking trails to explore the area. And get a unique experience. 2. Tusheti National Park Caucasus ranges are all gorgeous and have stunning beauty. When you are in Georgia, the scenic beauty of pristine alpine lakes and Caucasus ranges has different kinds of travel experiences. You can feel the explore the place with vehicles and hiking trails stretching over the area. You can feel the Caucasus mountain’s range of unique scenic beauty when you are walking through the hiking trails. All the national parks in Georgia are popular because of their amazing beauty. The virgin ranges are pretty popular among the tourists because of their calm and quiet ambiance. Most of the tourists are exploring the place by horseback or on driving trails by car. But walking or horseback is the correct way to enjoy the solitude of nature. These ranges have some popular heritage destinations. The village of the ranges is carrying the glorious impression of the past. 3. Mtirala National Park Batumi is a trendy starting point. When you are in Batumi, all the national parks are not far away from this place. If you are going to ask my opinion, I would rather say if I did not visit this place, I would miss the most beautiful one in Georgia. This is the best national park in Georgia, only 30 km Away from Batumi. The heaven on earth. Small piece of dense forest with uniquely diverse flora and fauna. You only have to take a short walk to reach the middle part of the park. Where a very pretty lake is present with a small high cascading waterfall. The best part of exploring is you can go camping beside the lake. But you have to take a conscious step to keep the place clean to preserve the beauty of nature. 4. Kolkheti National Park Among all Georgia state parks, Kolkheti national park is famous for bird watching. The Kalakshetra pheasant bird is the natural habitat of this place. The Tikori and Suspa river is the best place to see the different types of bird activity. Many wetlands are present on these two river banks. And this place is becoming the perfect hangout spot for migratory birds. In this single park, you can spot almost 194 different types of species of migratory birds. Pilastomi and Pichori river is the best tourist spot for tourists. This park has all facilities for bird watching like the bird watching towers. You can spend your entire day fishing and just pass your leisure time on a boat. 5. Kazbegi National Park Kazbegi national park is another excellent choice for hikers who love to see the mountain view from the high. This park is situated in the Caucasus ranges. This range is remote and a little bit dry. But from the Kazbegi national park, you can view different types of rare birds collection. From the Kazbegi national park, the nearer mountain village trails are the biggest attraction of the place. This park lies under the northeastern part of Georgia. The Sameba temple and Sioni basilica are the most prominent tourist attractions of the park. The local villages welcome the tourists with friendly gestures offering them food and wine. 6. Borjomi-Kharagauli National Park Borjomi national park is also a great attraction of the Caucasus mountain range. This park is entirely professionally developed for hiking and adventure walking. The best part of the park is this park has well-organized multiple hiking trails. When you just want to enjoy your day by walking through these magical roots, pick any trails among the available 12 hiking trails. And go towards the peek. You will find many Borjomi & Kharagauli National Park photos on socials and they will make you more interested in the national park. This is why most national and international tourists prefer this park among all the Caucasus national parks in Georgia. You will get multiple options for the camping sites, and all the places are quite comfortable for the tourists and hikers. The scenic beauty of the place is so pleasant you can take the tour and enjoy the views of Georgia’s finest hiking national park. What Is The Most Visited State Park In Georgia? Stone Mountain Park is considered to be the most visited among the Georgia State National Parks. The state park is located just 15 miles away from Atlanta. In its appeal, this park is no less than the national parks in Georgia state. Further, for the young at heart tourists, this is an elevated form of a theme park. Overall, it is a melting pot of local history, natural beauty, and theme park thrills. Exploring Nature At Its Best At Stone Mountain Park, Georgia The 3200-acre area of Stone Mountain Park will allow you to get lost in the wilderness. Hiking is the best way to explore the area and be familiar with the unique geology and ecology. Further, the park houses a museum, where interactive exhibits make you familiar with the natural history of the area. Camping At Stone Mountain Park, Georgia If you want to know the Stone Mountain Park, you must choose camping as an accommodation option. The Stone Mountain Family Campground will allow you to be in contact with nature in the metro Atlanta area. The campground has 441 wooded campsites with amenities like electricity and water. Along with tents, you can also go for popups and motorhomes. Moreover, amenities at these campsites include: Wireless Internet Connections (Selected Sites) Volleyball Swimming Pool Supply Store Playground Comfort Stations Full Showers Laundry Facilities The location of Stone Mountain Park is 4003 Stonewall Jackson Dr. Stone Mountain GA 30083. You can get in touch with the park at (770) 498-5710. Frequently Asked Questions (FAQs) Q1: What is the most visited state park in Georgia? A: Stone Mountain Park is considered to be the most visited state park in Georgia. The state park is located just 15 miles away from Atlanta. Q2: What is the oldest state park in Georgia? A: The park system of the US state of Georgia was discovered in 1931 with India sPOring Stae Park, therefore it is the oldest state park in Georgia as it was being looked after by the public park since 1825. Q3: Can we still hike in Georgia? A: If you really like the outdoors then the indoors, are good for you as Georgia offers 600 miles of hiking trails. Every bend holds a surprise for you. 4: What is the tallest waterfall in Georgia? A: Amicalola Falls state park has the tallest waterfall, in Georgia. It is 729 feet tall and is located in the Northeast Georgia Mountains. The park is considered to be the best spot for an adventure with family and friends. Wrapping It Up: Among all national parks in Georgia, these are the top picks of parks from travelers. The magical, heavenly mountain trails, cascade waterfall, and little dense forest are the biggest attractions of the place. The mixed culture of the nearest villages and the unique history of the place is the area’s biggest attraction. Do not forget to share your traveling experiences with us.