


 Related

Thanksgiving Road Trips With Kids: Tips For A Fun And Safe Journey
BY Sibashree Oct 28, 2024
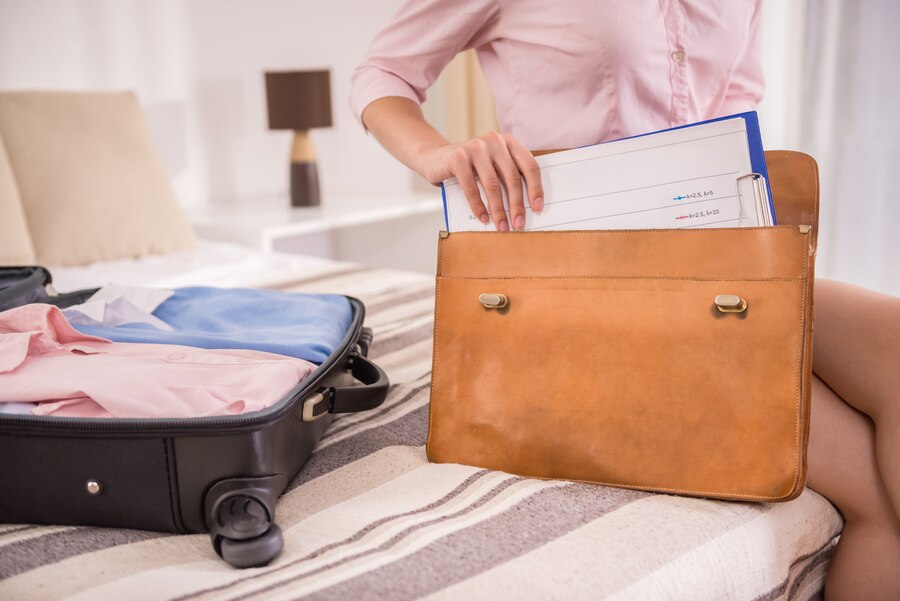
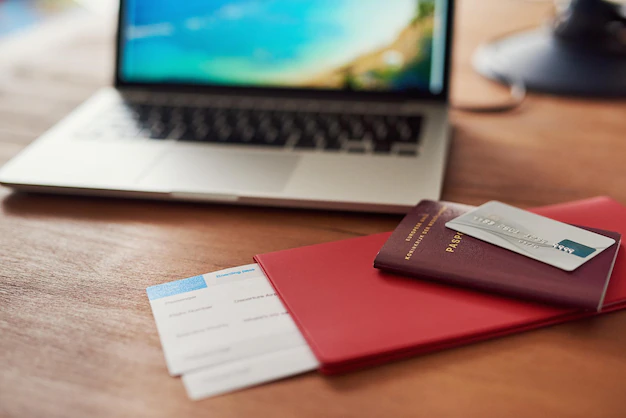
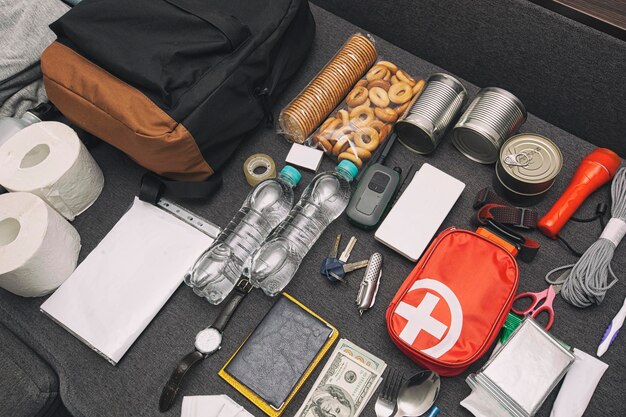
Thanksgiving road trips with kids are perfect for families to hit the road and create lasting memories together. Road trips with kids are both fun and challenging, Moreover, they require some planning to ensure a smooth journey. From engaging activities to keep them entertained to snacks that will keep the peace, a little preparation goes a long way. However, in this post, we'll share essential tips to help make your Thanksgiving road trip enjoyable and safe for the whole family. So buckle up and prepare for an adventure filled with laughter and gratitude! What Is Thanksgiving Day? This section is mainly for the ones who do not have much of an idea about the occasion. Thanksgiving Day is the annual day celebrated in the United States Of America. Alsom it is a harvest celebration. The Thanksgiving parade day is November celebration. Families and friends share the traditional meal and express gratitude for all the good things in life. Yes, many consider it as a service to others in this community. However, the celebration takes place on the fourth Thursday in November. Macy's employees started this event on November 27th to promote the holiday sales. From Macy's Christmas Parade, the name was changed in 1927. Thanksgiving Road Trips With Kids: Follow The Tips For A Safe Journey We have arrived at the main section of our article, where we shower tips and precautionary measures for safe Thanksgiving road trips with kids. Planning Your Route And Stops A well-planned route with regular stops is crucial for a smooth road trip with kids. Map out rest areas, parks, and scenic spots where your family can stretch and take a break. In addition, ensure these stops are child-friendly and have facilities like playgrounds or picnic areas. If you're traveling with very young children, consider rest stops that offer amenities for changing diapers or nursing. Remember to bring carriers for babies to make short walks and sightseeing stops easier. Hence, pre-planning these details will help prevent restlessness and keep everyone in good spirits. Packing Essentials For Kids When packing for a road trip with kids, focus on essentials to keep them comfortable and entertained. Bring a mix of clothing suitable for different weather conditions and activities. In addition, pack plenty of snacks and drinks to avoid frequent stops. Include travel-friendly toys, books, and electronics with headphones to keep them engaged. Don't forget comfort items like blankets and pillows to make the car ride more pleasant. However, using Method travel luggage for each family member can help organize everything efficiently, making it easy to find what you need quickly. A well-packed car ensures a smoother journey for everyone. Car Safety Tips For Traveling With Children Ensure that you install the car and booster seats properly for your child's age, weight, and height. Double-check that seat belts are securely fastened. Also, while embarking on the Thanksgiving road trips with kids, keep the car's back seat free of loose items that could become projectiles during sudden stops. Install sunshades on windows to protect your children from direct sunlight. Always keep a first-aid kit, emergency contacts, and essential medications easily accessible. Also, plan for regular breaks to prevent children from becoming too restless, and make sure your vehicle is in good working order before hitting the road. Entertainment Ideas To Keep Kids Engaged Create a travel activity kit for each child with coloring books, crayons, puzzles, and small toys. Audiobooks and music playlists can be lifesavers for longer stretches. Interactive games like "I Spy," travel bingo, or trivia quizzes can engage the whole family. Allow children to take turns choosing a podcast or song to keep them interested. For older kids, portable gaming devices or tablets with pre-downloaded educational apps can be beneficial. Rotate activities to maintain their interest and keep the journey exciting. Managing Meals And Snacks On The Road Keeping kids well-fed on a road trip is essential to a happy and peaceful journey. Opt for healthy, non-messy snacks like fruit slices, cheese sticks, and granola bars. Also, insulated bags should be used to keep perishable items fresh. If possible, plan for meals at child-friendly restaurants with play areas to allow kids to stretch and burn off energy. Additionally, consider packing a small cooler with sandwiches and drinks to avoid unhealthy fast food options. Having a designated snack bag within easy reach will help minimize disruptions and keep hunger at bay. Dealing With Emergencies And Unexpected Situations Unexpected situations can arise, so it's important that you become prepared well in advance. Keep a fully stocked emergency kit in your vehicle, including a flashlight, batteries, and basic tools. Ensure your phone is charged and you have a portable charger handy. Familiarize yourself with roadside assistance options and have their contact information easily accessible. In addition, teach your kids basic safety procedures, like staying close to the car if you must pull over. Carry extra blankets, water, and non-perishable snacks in case of delays in the Thanksgiving road trips with kids. If you prepare yourself well in advance, it will make a significant difference in handling emergencies smoothly. Creating A Positive Travel Atmosphere Foster a positive atmosphere by maintaining a cheerful attitude and setting realistic expectations for the trip. Also, encourage kids to share what they're looking forward to and listen to their concerns. Create a collaborative playlist with everyone's favorite songs to boost morale. Acknowledge and praise good behavior, and stay patient during challenging moments. Use positive reinforcement to encourage cooperation and kindness among siblings. Incorporate regular family discussions and storytelling to keep everyone connected and engaged. Arrival And Settling In After a long journey, it's important to help kids adjust to their new environment quickly. Start by unpacking essential items like comfort toys, blankets, and any necessary toiletries. Familiarize your children with their new surroundings by giving them a quick tour. Establish a routine similar to home to provide a sense of stability in these Thanksgiving road trips with kids. Allow some time for outdoor play or a short walk to burn off any excess energy from the trip. Engage in calming activities like reading a book together to help them unwind and feel settled. Road trips with kids during Thanksgiving day truly become a rewarding experience, creating cherished family memories that will last a lifetime. With careful planning and a positive mindset in these Thanksgiving road trips with kids you can navigate the challenges and make the journey enjoyable for everyone. Flexibility is key; sometimes, plans must adjust to accommodate unexpected needs or detours. Embrace these moments as part of the adventure and focus on the quality time spent together. Safe travels, and Happy Thanksgiving! Also read Top 10 Most Popular Paraguay Food That You Must Try. Top 13 Famous Wonders Of India That You Must Visit! [Updated 2024] Top Tips For Motorbike Rental In Phuket – A Guide To Exploring The Island On Two Wheels.