


 Related

Camping under the Canopies: RV Adventures in Northern California
BY Abdul Aziz Dec 30, 2023
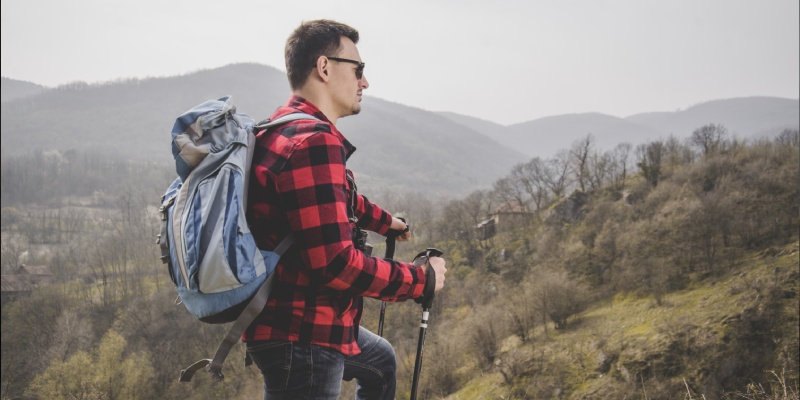
Visiting Northern California ensures an amazing trip that is jam-packed with attractions, activities, and breathtaking locations. If you're looking for an amazing way to make the most of your vacation, think about renting an RV and visiting some of the best campgrounds in this charming area. There are so many possibilities available for adventures based on RVs that choosing just a few is a fun challenge. From tanning in the warm sun on a pristine beach to fully embracing the beauty of nature, Northern California offers a plethora of life-changing experiences. You've come to the right place if you're looking for the best RV camping Northern California. Is RV Camping In Northern California Legal? Discover the best RV campgrounds Northern California has to offer by reading on, and make sure your next trip is nothing short of spectacular! California generally allows RV living as long as you don't park your vehicle overnight on private property without the owner's permission. You should be mindful of local regulations, though, as they might forbid parking certain kinds of RVs on public roads. Among the few states without laws banning RV living is California. If you want to live in an RV, you can legally do so. Before relocating to your new mobile home, it is imperative to ascertain the policies of your neighborhood HOA regarding this matter. RV Camping Northern California If you are looking for locations for RV camping Northern California is your best bet. Here are the top RV parking grounds. Get ready, its going to get exciting! Yosemite National Park The expansive campground located within Yosemite National Park is aesthetically pleasing. It sounds amazing to wake up to a stunning view of Yosemite Valley on a cold night, doesn't it? Winter visitors to Yosemite will find Upper Pines Campground to be a great location. For those who wish to witness Yosemite in all its winter splendor, Upper Pines is the perfect place to go because it remains open even when the valley receives snowfall. The only location in a National Park with a campground open all year round is Upper Pines. It is not possible to get hookups at this campground. Nonetheless, it features areas designated for tents, RVs, and vehicle camping. Yanks For RV camping Northern California has Yanks. Yanks is a cutting-edge establishment in Greenfield, California. It is designed for individuals seeking an exceptional, enjoyable, and opulent experience with their loved ones. For those who enjoy traveling in style, they have something to offer everyone. With their wide RV sites and complete hookups, Yanks is the ideal destination for any kind of vacation. Numerous amenities are available, including a fitness center, pet wash, pool, spa, as well as laundry. Large RVs and people wishing to park and connect their tow car can fit in the park's pull-through spots. They also have patios and concrete pads. Every campsite has full hookups with 30/50 amp electricity, free cable TV, and free Wi-Fi available throughout the park. Vacaville RV Park Another great place to stay is the California RV Park campground in Vacaville. It is close to the San Francisco, Sacramento, Napa Valley, and other beaches in California. Major attractions like the Monterey Bay National Marine Sanctuary, Solano County Wine Country, Napa Valley Wine Country, and Sacramento Wine Country are all nearby. You can stay in touch with your friends as well as family back home and your coworkers at work thanks to the free WiFi that is available everywhere. The best part is that if you don't have an RV, you can rent their tent cabin. Ramblin' Redwoods Campground & RV Park In Crescent City, RV camping Northern California, there is a family-friendly campground called Ramblin' Redwoods Campground & RV Park. The park has everything you need to enjoy the outdoors and explore the area, including an RV park and full-service campground! The campground is one of the few in California that provides hiking trails, hot showers, and restrooms, along with all-inclusive rates. In addition to having large campsites, fully functional kitchens, open as well as shaded sites, private forest sites, and much more, it is family-friendly. Ramblin' Redwoods Campground is the ideal location for you to stay, whether you're searching for an opulent cabin tucked away in the forest or just want to hang out at a campground in an RV with your family! Santa Cruz Redwoods RV Resort The Santa Cruz Redwoods RV Resort is a great location for a tranquil, restful vacation. It provides all the conveniences you require for a pleasurable stay with loved ones or friends. It is tucked away in the Santa Cruz Mountains' California redwoods. A wide range of activities are available in the park to keep visitors happy and busy. Basketball courts, fishing ponds, playgrounds, pavilions, eateries, and restrooms are a few of these. Visitors can even buy snacks and mementos from the general store located on the premises. If you want to enjoy some fun in the sun, you can boat or swim in the lake from the waterfront. This park is ideal for travelers looking for an affordable as well as practical place to stay because it offers RV sites. Every RV site has complete hookups, which include cable TV, water, sewage, and electricity. But keep in mind that the RV site is not a place for tents. Among California's most well-liked campgrounds is Beals Point Campground. Beals Point Campground is a lovely location on the west side of Folsom Lake, north of the dam. Beals Point Campground is open year-round, offering both RV and tent camping near the water, as well as incredibly spacious tent sites. With 69 fully equipped campsites, a store, as well as breathtaking mountain views, the campground has it all. All summer long, they accept reservations for the 69 sites, which are open to visitors of all ages. They go to first-come, first-served when it gets too chilly and don't fill up as quickly. For overnight visitors, the campground offers potable water, hot showers, as well as a swimming pool. Lake Perris State Recreation Area If you're looking for a weekend full of adventure, Lake Perris State Recreation Area is the place for you. With 167 tent camping sites and 264 paved RV sites (along with electricity, water and sink water), it's the biggest natural lake in the state. There is a dump station at each entry. A grill-equipped fire ring as well as a picnic table are also available. California's Riverside County is home to the stunning Lake Perris. Mountains and hills surround it. Spread out across the lake, the campsites provide a distinctive experience for campers who wish to take in the scenery without having to worry about making frequent trips from their spot. Wrapping Up You're in for a treat whenever you travel to Northern California because of its alluring beauty, as well as the magic is amplified in the summer. The warmth and sunshine make the outdoors an ideal playground for adventure seekers, beckoning you to go camping and hiking. Additionally, it's a great place to go on vacation because every city has a wealth of things to do and attractions to keep you occupied. If you have thoughts to share or questions to ask about RV camping Northern California, please leave a comment below. We would love to hear from you! Read Also: Wonders of the Waves: RV Camping Along Oregon’s Coastal Beauty