


 Related

What Is Most Likely To Cause Someone To Fall Overboard?
BY Shahnawaz Nov 18, 2022
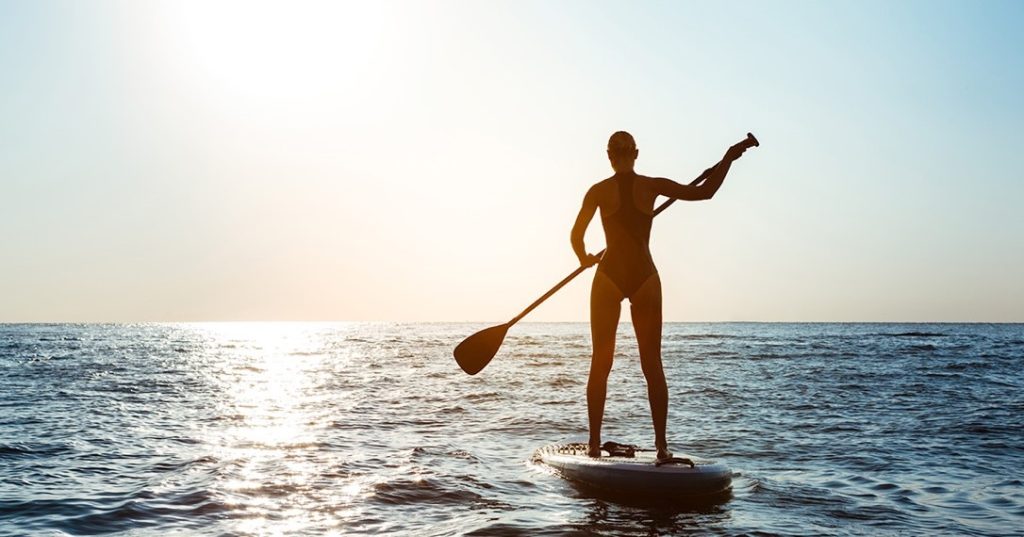
What is most likely to cause someone to fall overboard? It is always good to know how you can pull yourselves out of any danger. Whether you are taking a Boat Ed exam or you just want to be safe during a boat ride, you need to know about all the different safety precautions. One popular question on the internet is why someone falls overboard and what to do in such a situation. Falling overboard is a major risk on small boats. But how can you reduce this risk? In this article, I will help you find out. What Does It Mean To Fall Overboard? Falling overboard here is mainly referred to as falling from a boat when it is on the move. According to the recreational boat statistics by U.S. Coast Guard, 299 boat accidents happened centering falling overboard. A massive 63% of these accidents ended up in death or fatal injuries. When a boat is moving, it usually causes swaying movement back and forth, and the people in the boat experience agitation, causing them to lose their balance during the ride. It is extremely against safety protocols to stand up while on a recreational boat ride. Since you already struggle to have balance while sitting, standing up reduces that balance to zero. Usually, people don't stand up when riding small recreational boats. However, most of the cases are caused due to carelessness or under the influence of alcohol. What Is Most Likely To Cause Someone To Fall Overboard? The most prominent reason for a passenger falling overboard is due to standing when the boat is moving. But why would someone stand when the boat is moving and swaying the passenger back and forth? Here are a few common reasons - 1. Fishing Anglers need to stand up when they are fishing. Standing up makes it easier for them to handle their rod and fight the fish when it resists. Unfortunately, standing during fishing may also cause someone to fall overboard. That is why anglers are recommended to wear certified PFDs when they are fishing. 2. Alcohol/Intoxication Although it may sound silly, alcohol is among the topmost reasons for people fall overboard when they are sailing. Some people ride on boats when they are under the influence of alcohol or intoxicated by drugs. These influences force them to make a poor judgements. An intoxicated person has more chance of standing up than a sober person. As a result, they fall overboard. So, what is most likely to cause someone to fall overboard? You can ask that for alcohol and drugs. It’s better to ditch them before getting onboard. 3. Carelessness Another cause for falling overboard is carelessness. Boat riders may want to stand up carelessly to take photos and videos for social media. Sometimes, they also stand up just to show off or impress others. Standing up during a small boat ride is considered careless since it makes you lose your balance. Also, it is one of many reasons for falling overboard. What Is The Immediate Thing To Do When Someone Falls Overboard? When you notice that someone fell overboard, it's critical to remain calm. You don't want to get into a panic, waste time, or worsen the situation. When you realize you have a man overboard situation, the first thing you need to do is slow the boat down and turn off the engine. This will permit you to focus on the casualty so that protecting them is simpler. Additionally, it extraordinarily decreases the gamble of the individual incidentally being harmed by the boat on the off chance that it's actually moving and the motor is running. You must yell "MAN OVERBOARD!" if you are just another passenger and are not actually in charge of the boat. What's more, keep your eyes on the individual in the water. It's easy to lose track of someone in the water, so point them out so the captain and other passengers can find them. This is doubly evident on the off chance that the individual isn't wearing a PFD, despite the fact that they ought to be. In the water, a life jacket is a useful visual locator. However, if one is not present, you must make every effort to keep an eye on the individual. What To Do When Someone Falls Overboard? It is possible to save someone who has fallen overboard. But, the actions need to be taken immediately. You should also know if the person has fallen into warm water or cold water. Here are a few important steps to help you rescue someone who has fallen overboard. Ask For Help When you notice that someone has fallen overboard, the first thing you have to do is to ask other passengers and occupants for help. If the situation is critical to handle, you should call U.S. Coast Guard for help. Keep An Eye Of The Victim When someone falls overboard, you should keep an eye on them and track their movement. Usually, they will try to swim and go to safety. However, when the wave is rough, they will struggle. Also, if the water is cold, you need to make sure that they are alert and awake at all costs. Most importantly, you should keep track of their location at all times. Throw A Life Ring Or Jacket When someone falls overboard, you can help them by throwing in a life ring or jacket. The life rings are Type IV PFD colored in bright shades. You can also help them with a reaching pole or offer them something to grab onto. It will help you get them out of the water. Turn Back Or Stop The Boat You should slow down the boat and turn back for the victim when someone falls overboard. But, some boats are big enough and cannot be moved easily. Using a smaller boat or life raft can help you save the victim. Having a life raft or small boat as a precaution can help prevent propeller injury while reaching close to the victim in an attempt to save them. Pull The Victim Back In The Boat If all the conditions are met, you are ready to pull the person back on the boat. However, make sure not to put all the weight of the boat on one side of the boat. Doing so can put you at an even larger risk. Read More: When Can Navigation Rules Be Overlooked? How To Avoid Falling Overboard When The Boat Is Moving? Having proper precautions minimize the risk of an accident happening. Here are some of the precautions you can take before sailing off. Wearing PFDs or lifejackets approved by the U.S. Coast Guard should be mandatory for passengers. The driver of the boats needs an ignition safety switch that acts as a kill switch. It can come in handy during such events. The passengers should not sit in places that are not meant for seating. Passengers should also not sit on the pedestal seating when the boat is on the move. A boat should not be overcrowded with too many passengers. All the passengers and gears should be well-balanced. Passengers must not stand up or move around the deck of the boat during the journey. If journeying on a smaller boat, do not let the passengers lean themselves beyond the gunwales. Slow down the boat during a turn. Also, stay updated with recent weather reports and travel accordingly. Rules To Follow Onboard The same rule applies to all boats to ensure the safety of passengers. This is because you should always have at least one hand on the boat when standing or moving around the boat. Here are some of the rules that you must follow: Numerous toe rails and lifelines, as well as handholds scattered throughout the boat for you to grab and hold on to, ensure your safety. You run the risk of going overboard if you disregard this rule and are careless while aboard the ship. You should also avoid going onto the deck when the weather is windy or when the boat is caught in any other bad weather to ensure your safety onboard. Assuming you should go at hand, we recommend wearing a saddle that is secured to jack lines and continuously keeping one hand on the boat. Decks can be risky, particularly on more modest boats, for example, boats when the boat is moving. To stay away from undesirable and dangerous circumstances, forever know about your environmental elements, remain as quiet as could be expected and remain sober while exploring a deck. Frequently Asked Questions (FAQs): Here are some important questions I have answered. These might be helpful for situations such as falling overboard. 1. Do People Survive Falling Off A Cruise Ship? Ans: The chances of survival when someone falls from a cruise ship are very minimum. In most cases, the chances of survival are reduced to 85% to 90%, which causes death. 2. What To Do If You Fall Overboard? Ans: If you fall overboard during a boat cruise, the first thing you should do is stay calm and think positively. Also, it is better for you to stay afloat than try to swim. That way, you will save more energy. Also, cooperate with the rescuers when they try to help you. 3. Can You Survive If You Fell Overboard? Ans: Yes, the chances of survival become high if you are already wearing a life vest. But, if you try to float and stay close to the boat after the fall, it will be easier for your companions to save you. Bottom Line Most of the cases of falling overboard are caused by someone standing when the boat is on the move. You should always try not to stand up or move around the boat during a journey. As long as you and the rest of the passengers are maintaining all the precautions, no accidents should happen. However, if anything were to happen, you can follow these precautions to help them. I think this article was helpful. You can share your feedback in the comment. Read Also: Best Pet Friendly Hotels Near Me In Florida City – Reviewed Top 11 Outlets In Massachusetts You Can Visit While Traveling Top 15 Restaurants In Colombia You Must Visit While Traveling