


 Related

Unique Things To Do In Greenfield Indiana | A Small Town With Big Tourism Attractions
BY Sibashree Jan 18, 2025
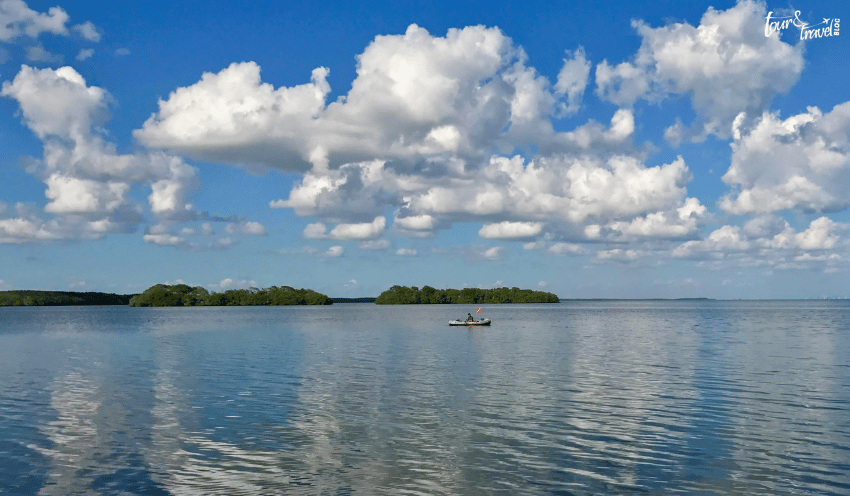
Greenfield just had a brilliant holiday season, and it welcomed the ice skating rink on the Courthouse Plaza. But adventure or fun outdoor activity is something that Greenfield has always been famous for. Whenever you consider the things to do in Greenfield Indiana, you will find a lot of beer tasting, food tours, and exploring the art scene. Furthermore, it is one of the fastest-growing suburbs of downtown Indiana. Moreover, it is home to Eloise Greenfield, the famous American author of children’s books, and it has the boyhood home of James Whitcomb Riley. You can even enjoy your food in a grain elevator, which is 100 years old, or chase the turtles. Also, you will love the apple-picking or farming experience here. Again, hiking the natural trails is one of the best things to do in Greenfield Indiana. So, are you ready for a Greenfield tour? Here’s our Tour and Travel guide. Unique Things To Do In Greenfield Indiana | It’s Time To Explore And Relax The unique things to do in Greenfield Indiana will inspire you to rekindle new hobbies. You may grow a habit of baking apple pies or doughnuts after a farming experience at Tuttle Orchards. You may even grow an elevated taste of coffee after tasting the best vanilla latte and muffin at The Green Bean on Washington Street. Moreover, you can reserve a table at The Green Bean by calling (317) 434-5973. Furthermore, if you are an aware traveler, you will always find how the business community grows in Greenfield Indiana. So, on the one hand, you have unique things to do in Greenfield Indiana, like chasing the turtles. On the other hand, you will notice how it is moving toward the future as the fastest-growing hub of Indiana. Plan a trip to Greenfield, Indiana, around September or October to explore the town at its best. 1. Exploring The Pennsy Trail The Pennsy Trail is an old railway track that has been transformed into a recreational trail. It starts from East Greenfield, follows US 40, and continues toward the city’s West Edge. Here, the trail has a break of around 2.5 miles and from the break, the trail continues again. As you explore the trail, you will find famous landmarks like: Indianapolis Zoo Irvington Cumberland Along with hiking, you can also bike and run along the trail. It is even ideal for a walk with your pets. Moreover, on the way, you will come across many murals, sculptures and paintings that depict the history and culture of the city. They also make you familiar with Kakuda, Japan, the sister city of Greenfield. As you reach Depot Street Park, you will find lush greenery, making you forget about the hustle and bustle of the city. During the summertime, you will find the summer concerts filling your ears. 2. Apple Picking At Tuttle Orchards https://www.instagram.com/p/DACewoWsIel/?img_index=1 Address: 5717 N 300 W, Greenfield, Indiana Contact Number: +1 317-326-2278 Hours Open: 9 AM to 6 PM (Sunday Closed) Entry: Free Tuttle Orchards is a little outside Greenfield. Spanning over 200 acres, Tuttle Orchards is home to apple trees of over 30 varieties. This place is also famous for growing pumpkins and other vegetables. In addition, the 10000 square foot greenhouse here is famous for growing a wide range of vegetables and flowers. Plucking fresh apples from the trees is the most exciting activity at Tuttle Orchards. Further, on some days, kids can have a lot of fun here at the Tractor Town Adventure Farm. This play area is developed with a country theme and it has mazes and sliders. Once you are done plucking apples, you can collect the fresh produce from the farmhouse. At the cafe here, you can taste the best coffee and delicacies made using fresh produce from the ground. Moreover, you can collect award-winning apple cider from here, and the doughnuts here are yummy! 3. Drinking Local Craft Beer At Wooden Bear Brewing https://www.instagram.com/p/CxOeyM2O4fb/ Address: 21 W North Street, Greenfield Contact: +1 317-318-1803 Greenfield is a great place for tasting craft beer. Wooden Bear Brewing, a local brewery, is the best place to visit for the same. It is the winner of the gold medal for the Russian Imperial Stout. Other craft beer varieties you will find here are: Fruited ales Ambers IPAs This craft beer joint also has a kid-friendly environment. Watching turtle racing here is one of the most unique things to do in Greenfield Indiana. Further, this place has trivia competitions, painting days, bingo nights, and many events frequently. Overall, it is a great place to relish craft beer. 4. Visit The Boyhood Home Of James Whitcomb Riley Address: 250 W Main Street, Greenfield, Indiana Contact Number: +1 317-462-8539 Hours Open: 11 AM to 4 PM (Sunday Closed) Entry Fee: $4.00 for adults, $1.50 for 6-17-year-old children, $3.50 for seniors, $1 for students (Free for Children Aged Below 6) Hoosier Poet, or James Whitcomb Riley, is a prominent name in the literary scene of Greenfield. He got this name because he presented the essence of the Hoosier dialect through his work. So, his childhood home in Greenfield is a popular attraction in the town. The boyhood home also has a museum that displays the author's life and accomplishments. You can even find the work of Will Vawter, a contemporary of James Whitcomb Riley, here. 5. Having The Best Coffee At Greenfield, Indiana https://www.instagram.com/p/CjvHOhJOcNM/ If you are a coffeeholic, Greenfield will spoil you for sure. Further, in places like Hitherto Coffee (Contact No: (317) 318-9782), your favorite drink tastes even more refreshing with your favorite gaming experience. Hitherto Coffee and Gaming Parlour at 1558 N State Street Greenfield is a brilliant example of farm-to-pot practice. For example, the vanilla syrup they use in the coffee is made from fresh vanilla beans. You will also find here quick bites like flatbread pizzas and pastries. In addition, the variety of ice creams and pies is brilliant here. Now, about the gaming experience, you can play the classic UNO or Clue Game. However, the biggest attraction is The Godfather. It’s a wonderful fusion of Mafia and Monopoly. 6. Have The Best Burger Bite At Greenfield Greenfield serves awesome burgers. However, you will love the burger even more when you have it at the Depot Restaurant. It’s located at 240 W Mill Street, Greenfield, and the contact number is +1 317-477-3942. The restaurant building has a height of over 100 feet and was once a food grain elevator in the city. Further, it is the second-tallest building in the city. The grain elevator built it 1906 was renovated as a restaurant and opened in 2021. Today, it can accommodate 100s of guests on its two floors. The restaurant's interior is old-world, with wooden pillars and seed sacks still there. Moreover, you will have the best American smashed burgers here. The Angus smashed beef burgers, especially, are out of the world. You can try the applewood smoked bacon, coleslaw, and BBQ brisket. You will also love the sandwiches and wraps here. Also read Why Include Whale Watching In Your LA Itinerary. Traveling On A Budget: Tips For Affordable Adventures. From Cocktails To Kickflips: Must-Try Activities In San Diego.